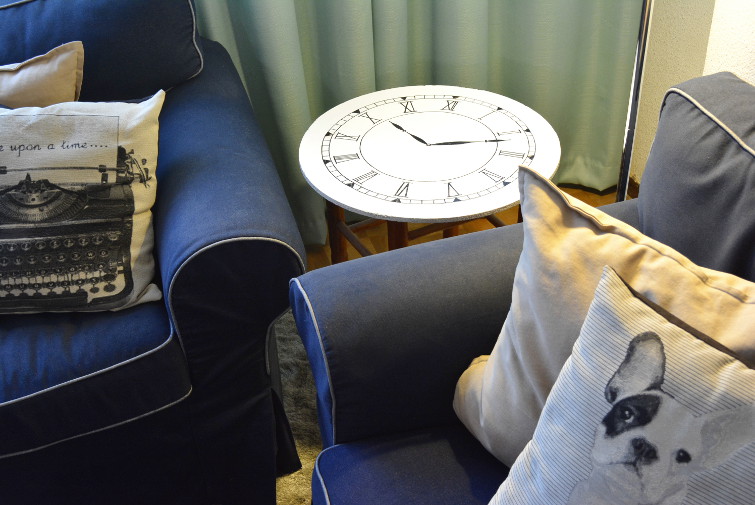
Good morning! As you might know, I love making DIYs and today I show a little more elaborated one, but not for that more complicated. It's about how to give a twist to an old and ugly side table wich was covered with a table cloth and make it shine turning it into a new one with an original and modern design.
I made this DIY about two years ago but I forgot to post it, that's why the first pictures show red curtains and carpet and the last ones show light blue and grey ones (as we also made some changes to our livingroom since then, hehe :P). So let's start!
¡Buenos días! Como sabréis, soy una gran aficionada a los DIYs y hoy os traigo uno un poco más elaborado pero no por ello más complicado. Se trata de darle un giro a una mesa camilla antigua y fea que teníamos cubierta con un mantelito para sacarla a relucir y transformarla en una con un diseño más original y moderno.
Hice este DIY hace unos dos años, pero había olvidado publicarlo, por eso en las primeras fotos aparecen unas cortinas y alfombra rojas y en las últimas unas azul aguamar y gris (ya que también hicimos algunos cambios más en la decoración de nuestro salón desde entonces, jeje :P). Así que, ¡empezamos!
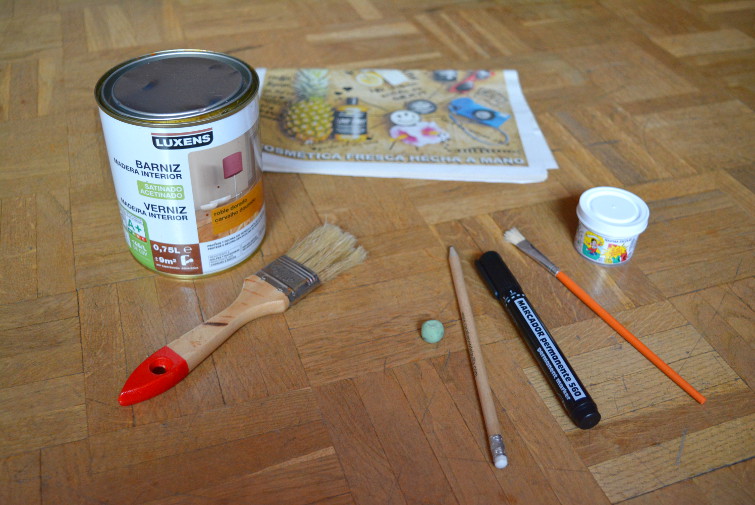
First, we need the following materials to complete this DIY:
- Wood barnish
- Newspaper
- White paint (I used tempera)
- A thick paintbrush
- A thin paintbrush
- A pencil
- A rubber
- An indelible marker (such as the ones we used to write on the CDs)
Lo primero que necesitamos para este DIY son los siguientes materiales:
- Barniz para madera
- Papel de periódico
- Pintura blanca (yo he utilizado témperas)
- Una brocha para pintarl
- Un pincel fino
- Un lápiz
- Una goma de borrar
- Un rotulador indeleble (como los que utilizábamos para escribir en los CDs)
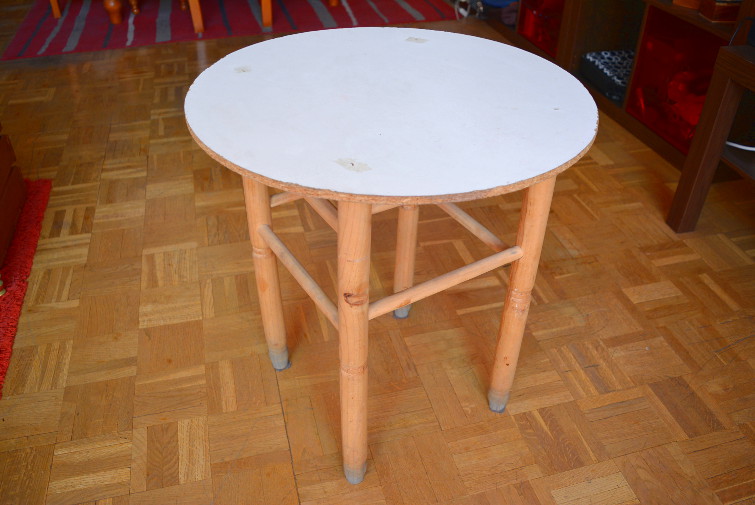
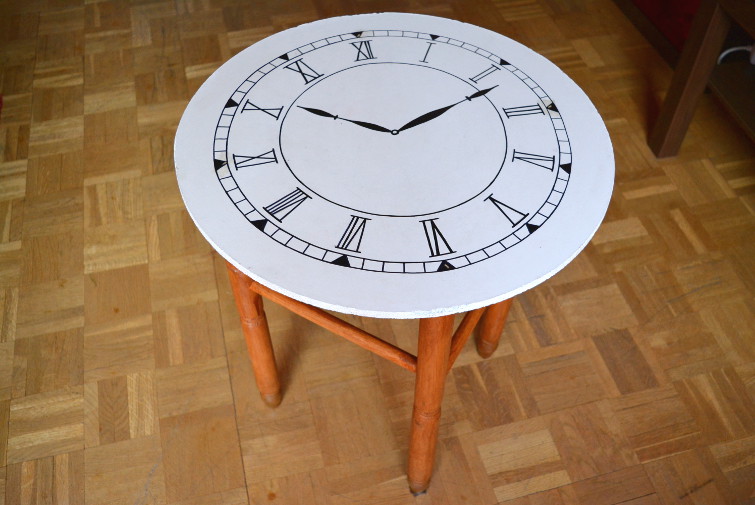
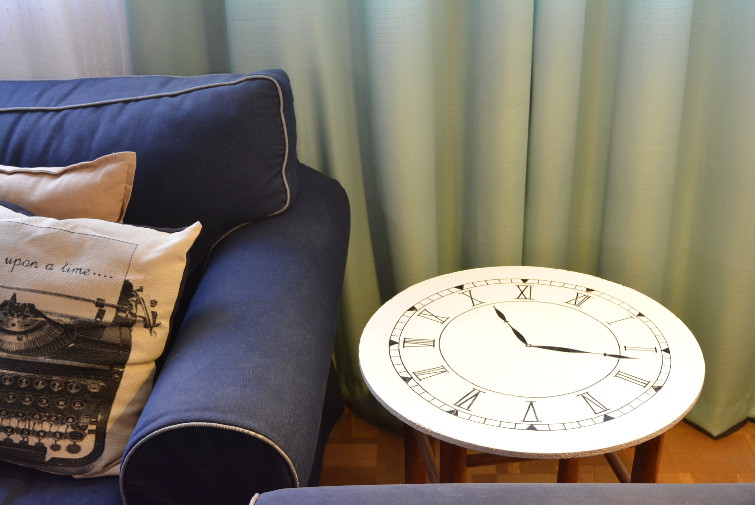
We have our old ugly side table and we start drawing a new design we like on it with the pencil. This way, if we make any mistake, we can erase it with the rubber. In my case, I chose to draw a clock sphere with roman numbers and some beautiful needles in a vintage style.
Partimos de nuestra antigua y fea mesa camilla y empezamos dibujando algún diseño nuevo que nos guste sobre ella con el lápiz. De esta manera, si nos equivocamos dibujando, podemos borrar fácilmente con la goma de borrar y corregir o volver a dibujar. En mi caso, como la mesa es redonda, escogí dibujar sobre ella la esfera de un reloj con números romanos y unas agujas de estilo vintage.
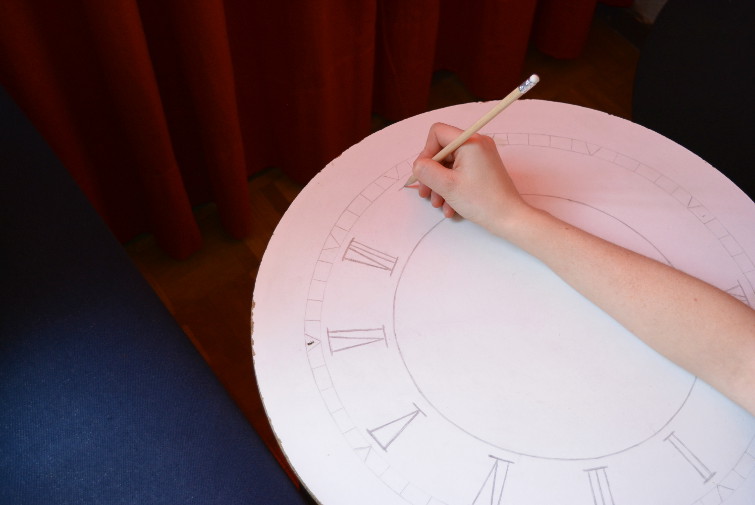
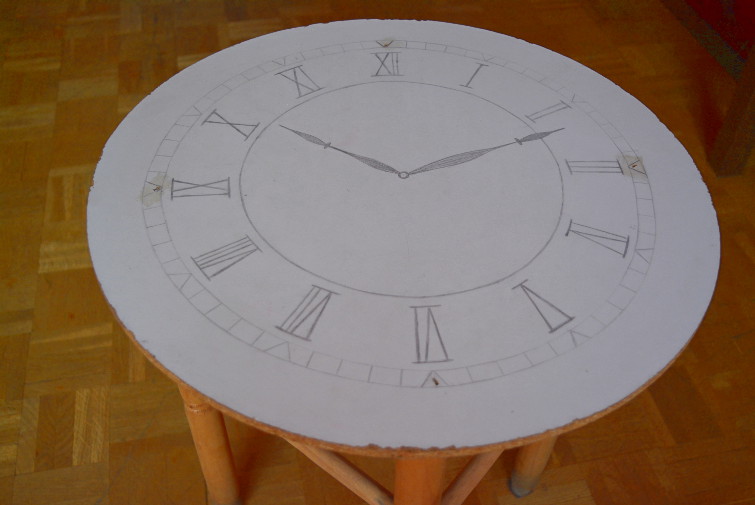
Once we have finished drawing with the pencil and we have our final new design ready, we draw again over it with, this time with the indelible marker, so that our new design gets attached to the table.
Una vez que hayamos terminado de dibujar con el lápiz y tengamos listo nuestro diseño final, pintamos de nuevo por encima de él, esta vez con el rotulador indeleble, para dejar el nuevo diseño fijo en la mesa.
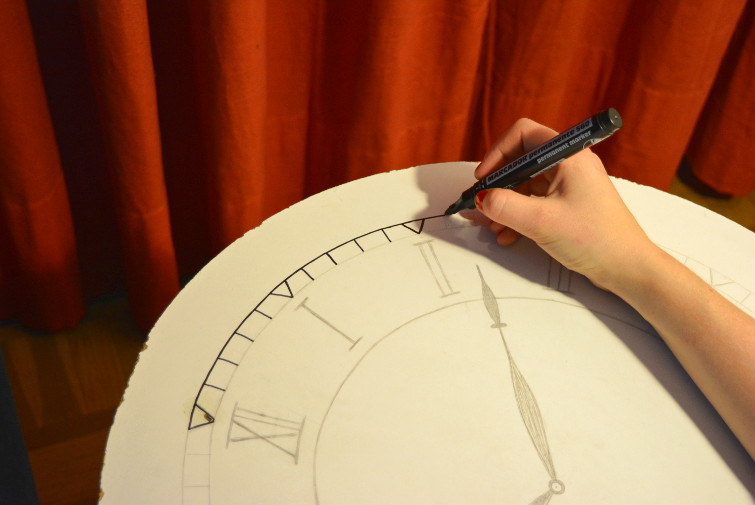
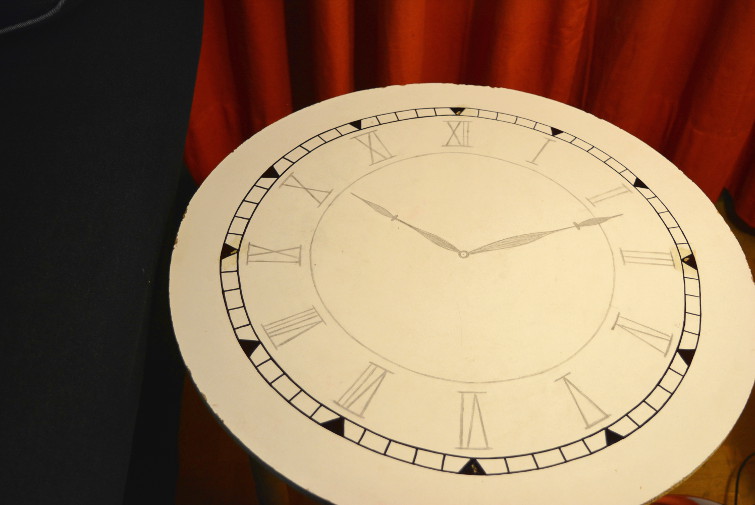
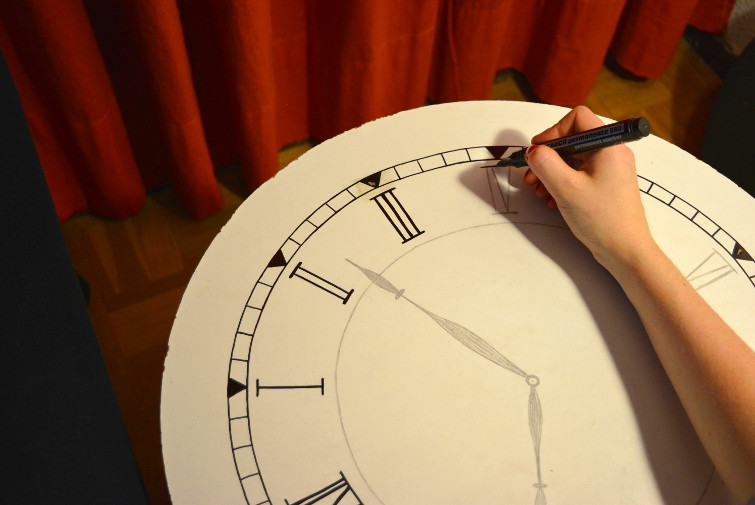
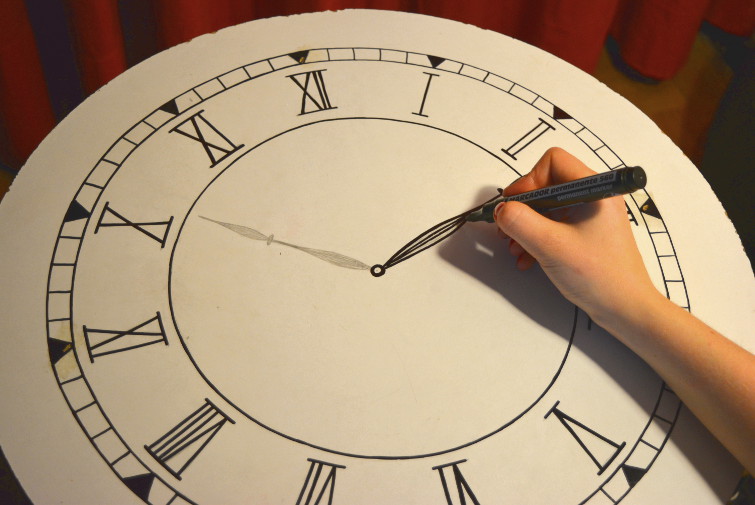
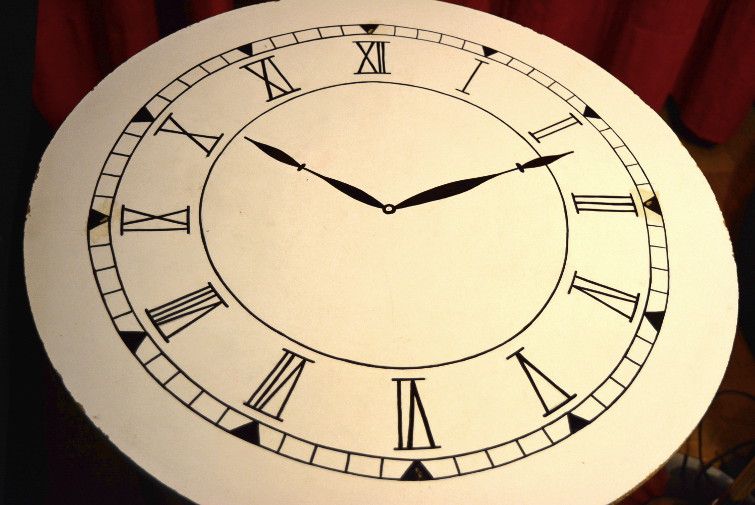
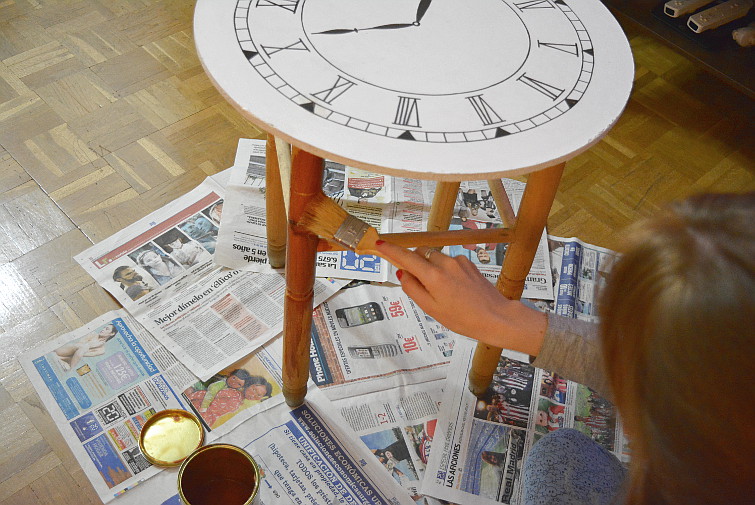
The next step is to use the white paint and the thin paintbrush to paint the edge of the round table.
El siguiente paso es utilizar la pintura blanca y el pincel delgado para pintar de blanco el canto de la mesa.
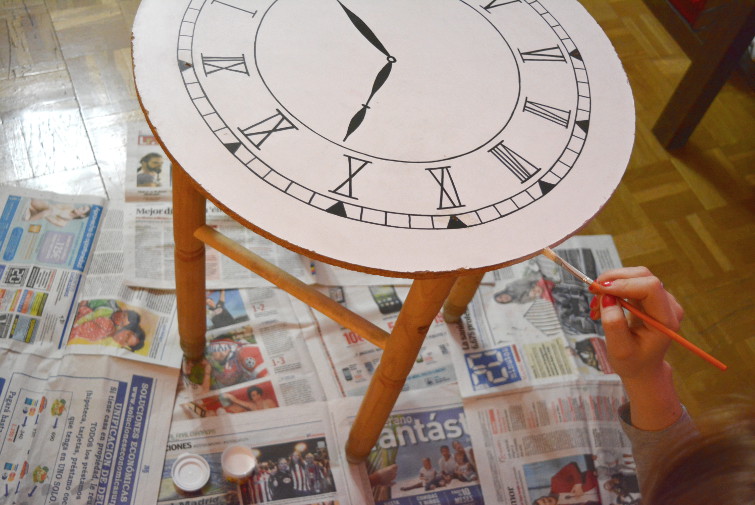
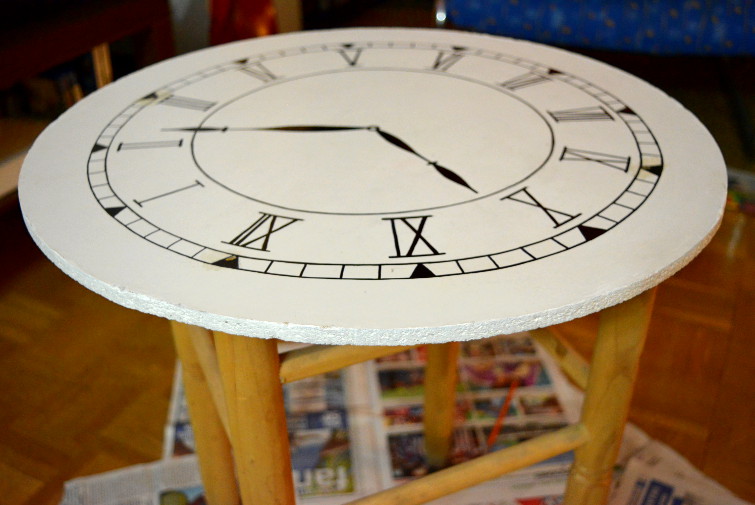
After that, we use the barnish and the thick paintbrush to barnish the legs of the table.
A continuación, utilizamos el barniz y la brocha gorda para barnizar las patas de la mesa.
And voilà! Here it is our new clock side table! :D
Y voilà! ¡Aquí tenemos nuestra nueva mesilla auxiliar! :D
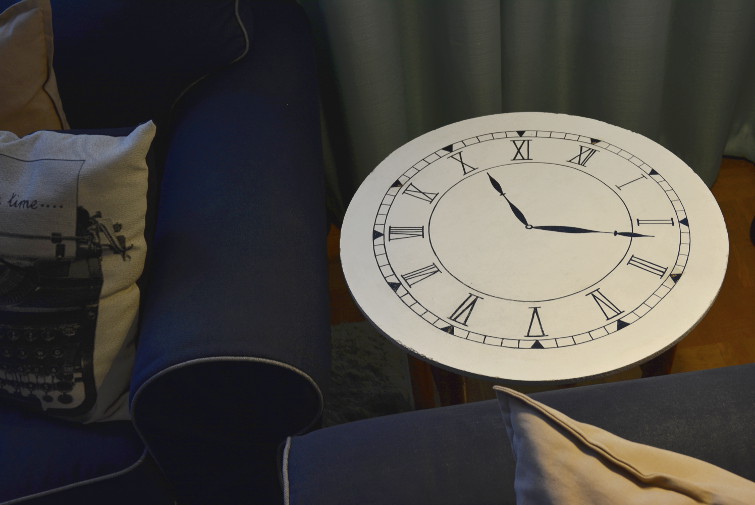
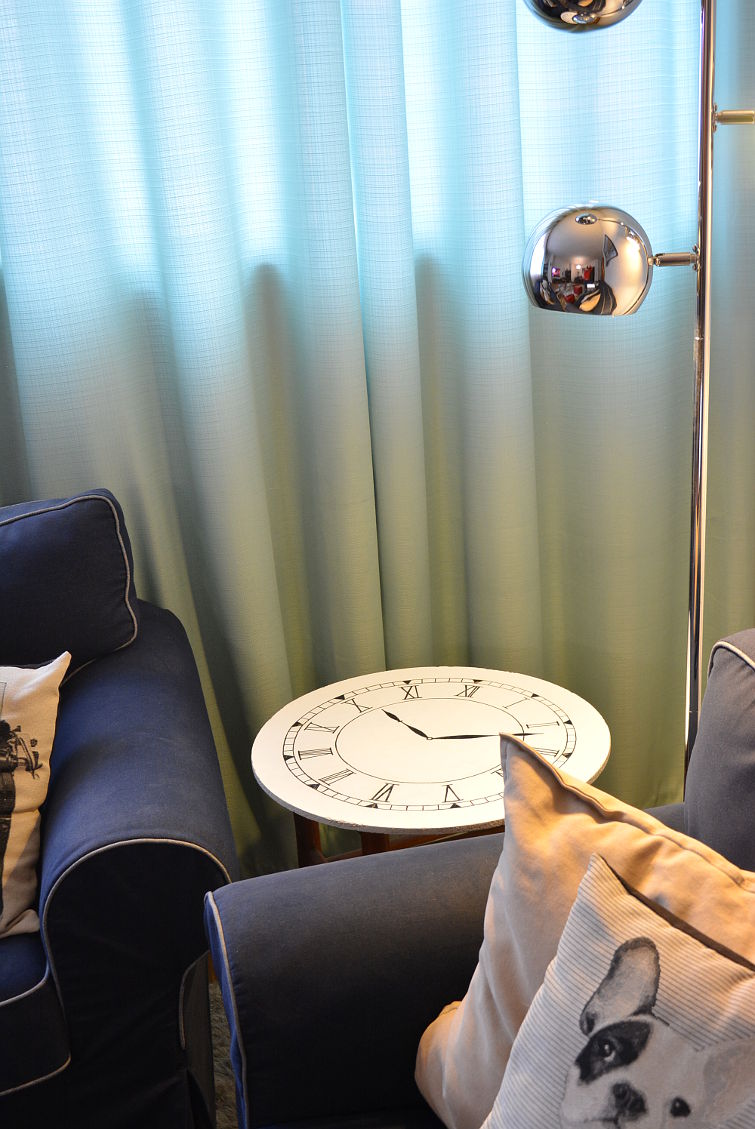
We placed it between our sofas in the livingroom and its perfect to stand a mug of tea while watching a the TV or a movie or for any other thing we want to lay on it while staying in the livingroom.
La colocamos entre nuestros sofás en el salón y es perfecta para apoyar una taza de té mientras ves la tele o una peli o para dejar cualquier otra cosa que queramos mientras estamos en el salón.
What do you think? Did you like this DIY? Please let me know about it! ;)
Have a wonderful day! Kss
¿Qué os ha parecido? ¿Os ha gustado este DIY? Contadme vuestras opiniones! ;)
¡Que tengáis un día maravilloso! Bss

Menuda transformación, ha quedado preciosa ,una idea genial ,gracias por compartirla .
ResponderEliminarMuchas gracias Carmen! Me alegra que te haya gusado ;) Un besazo!
EliminarYou're very creative, Yolanda. I love this clock table. Thank you for sharing.
ResponderEliminarThank you so much Ian! This encourages me to do more DIY posts ;)
EliminarThank you for sharing your talent. Protect and nourish it. Great job, Yolanda! Love Richard Butler Creagh
ResponderEliminarThank you so much Richard!! I've got more DIYs to share, so soon you'll see more :)
EliminarGreat idea! I so love this DIY, thank you!
ResponderEliminarThank you so much!
Eliminar