
Good morning!! I resume the DIYs with a very easy one you can try during a winter afternoon at home. The idea came because I bough these two beautiful frames in the shape of a heart but I don't like very much how photos look on a heart-shaped frame (that's a fixation I have! hehe :P), so I thought about a different way to use them.
¡¡Buenos días!! Retomo los DIYs con uno muy sencillo que podéis llevar a cabo en una tarde de invierno en casa. La idea surgió porque compré estos bonitos marcos con forma de corazón pero no me gusta mucho cómo quedan las fotos en marcos con forma de corazón (¡manías! jeje :P), así que pensé en una forma diferente de darles uso.
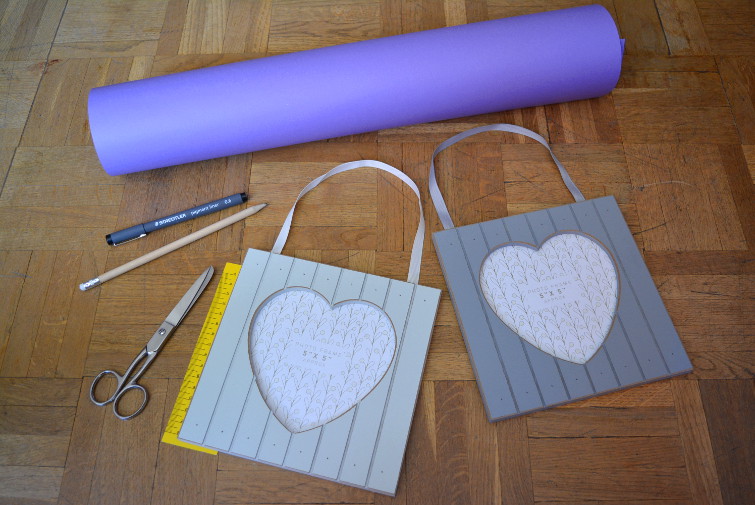
These are the things you need / Ésto es lo que necesitáis:
1. Some beautiful frames / Unos marcos bonitos
2. A cardboard / Una cartulina
3. A pencil and a rubber / Un lápiz y una goma de borrar
4. A stylographic pen / Un bolígrafo estilográfico
5. A rule / Una regla
6. Scissors / Tijeras
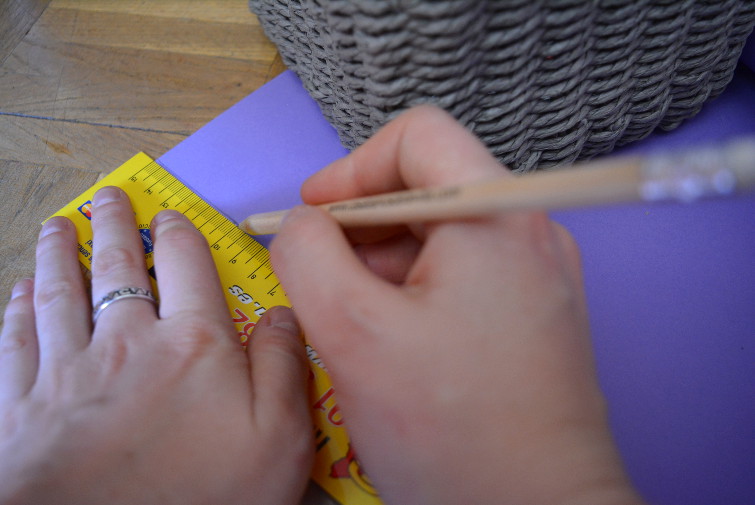
First, just use the rule and the pencil to draw some rectangles on the cardboard with the size you want to include in the frames. In this case, as we have two frames, we draw two rectangles.
En primer lugar, utiliza la regla y el lápiz para dibujar varios rectángulos en la cartulina con el tamaño que queramos incluir en los marcos. En este caso, como tenemos dos marcos, dibujamos dos rectángulos.
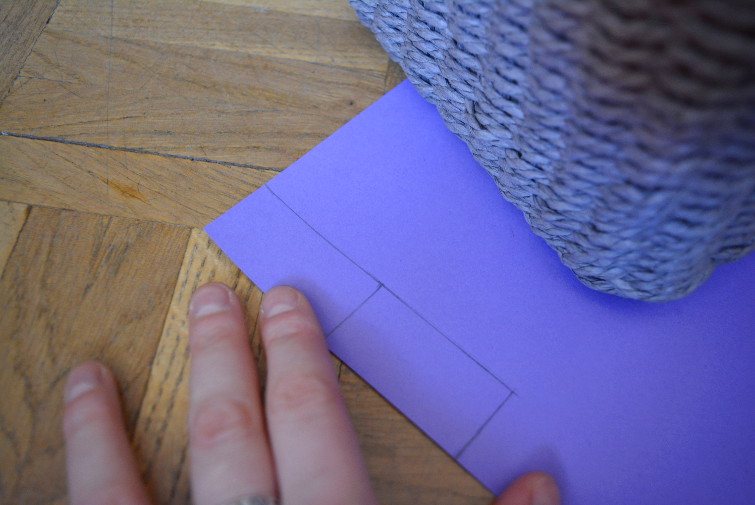
We should get something like this.
Nos quedará algo así.
Then, we write two meaningful words, each one in each rectangle. We can use a beautiful handwritting.
A continuación, escribimos dos palabras que tengan algún significado relevante para nosotros, cada una en un rectángulo. Podemos utilizar alguna caligrafía bonita.
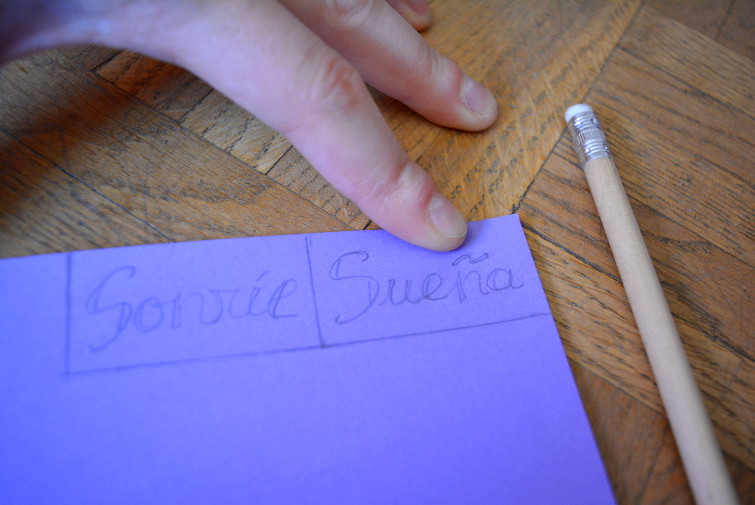
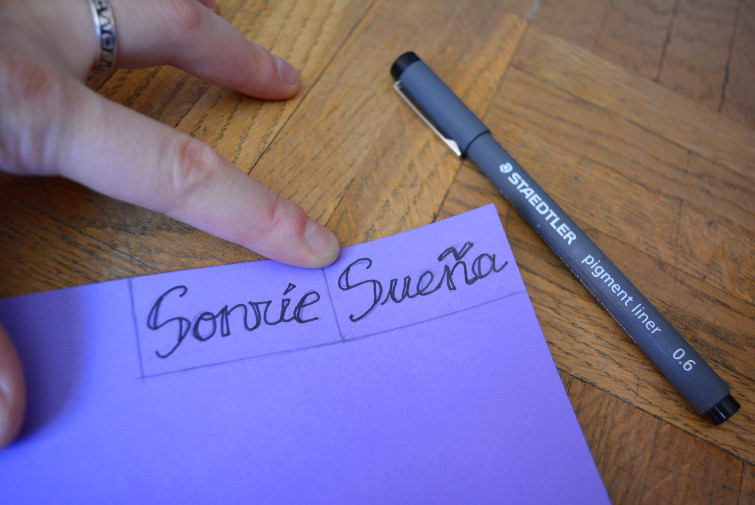
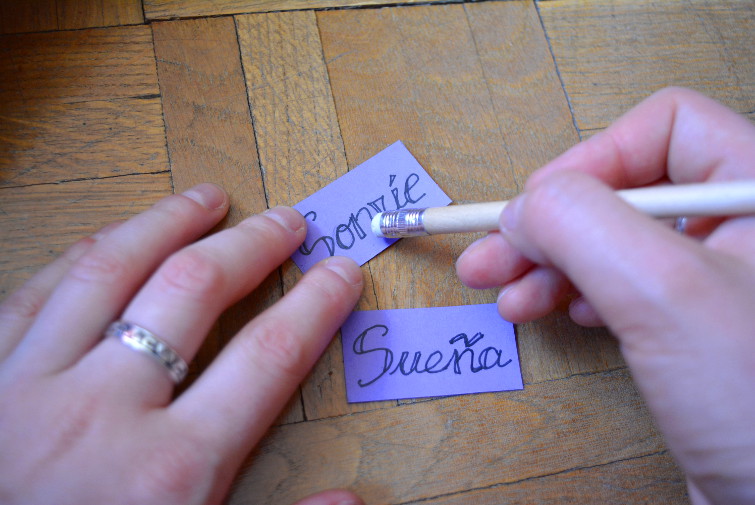
Once we've wrote the two words with the pencil, we write over them again, but this time with the stylograph.
Una vez que hemos escrito las dos palabras con el lápiz, escribimos de nuevo por encima de ellas, esta vez con el bolígrafo estilográfico.
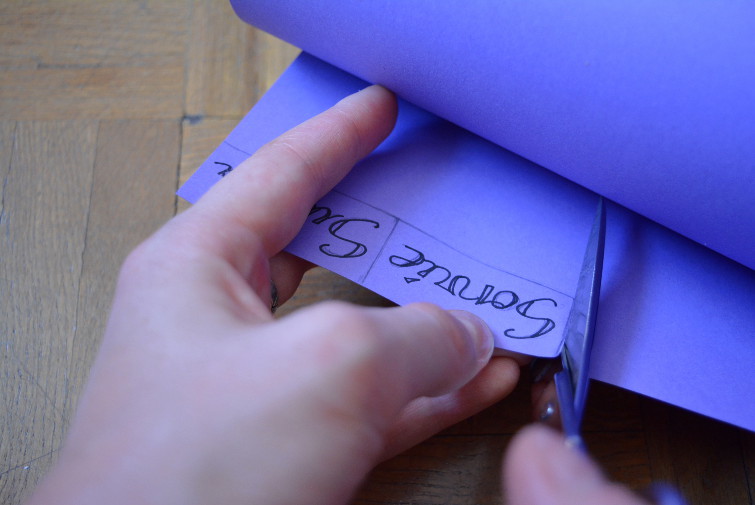
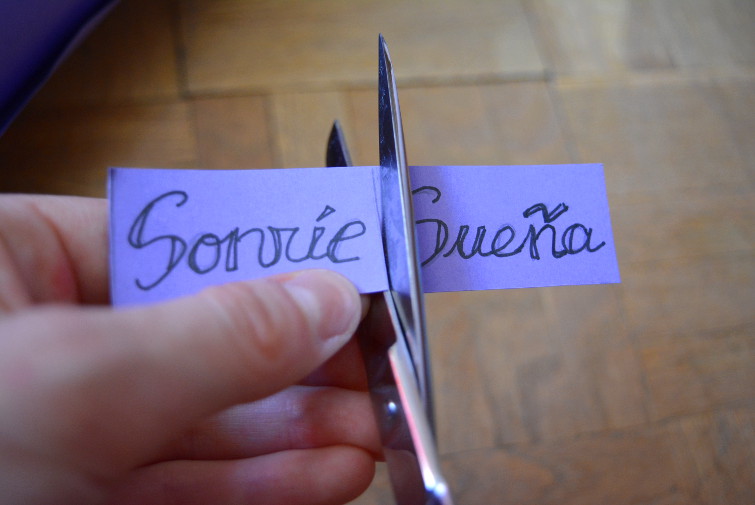
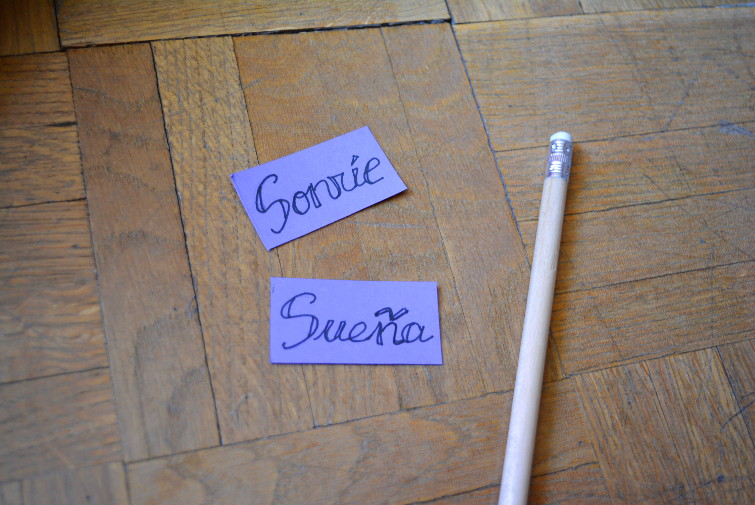
Next, we cut the two rectangles with the scissors.
Después recortamos los dos rectángulos con las tijeras.
Now, we erase the pencil lines with a rubber.
Ahora, eliminamos con una goma de borrar las líneas de lápiz para que no queden a la vista.
Once we have the cardboard rectangles with messages ready, we just have to put them in the frames.
Una vez que tenemos los rectángulos de cartulina con mensajes listos, sólo tenemos que colocarlos en los marcos.

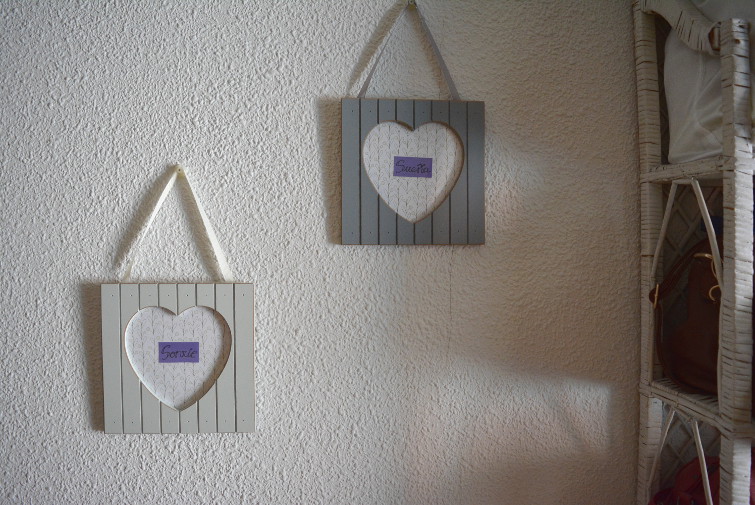
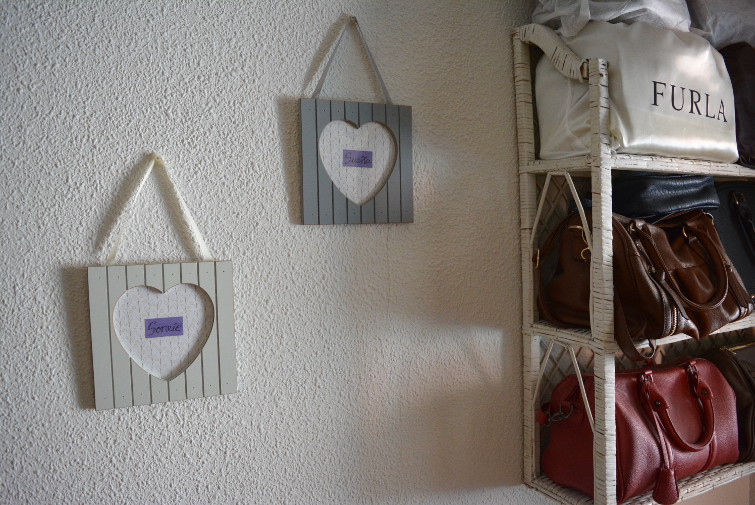
Et voilà! We can hang the frames to embellish our walls :)
Y violà! Podemos colgar los marcos en nuestras paredes para embellecerlas :)
What do you think about this easy DIY? Will you try it at home? Let me know your impressions and experiences ;) Happy day! Kss
¿Qué os ha parecido este sencillo DIY? ¿Os animáis a probarlo en casa? Contadme vuestras impresiones y experiencias ;) ¡Feliz día! Bss
Me ha encantado el DY ,una forma sencilla de hacer una decoración personalizada. Lo pondré en práctica,je je .
ResponderEliminarMe alegro Carmen!! La verdad es que es un DIY muy sencillo y lucido, jej. Ya me contarás qué tal ;) Bss
EliminarWow, this is so cute. Thank you for sharing.
ResponderEliminarThank you so much!! I'm so happy that you like it! :)
EliminarHi Yolanda, you're so creative! I'm excited for your next DIY's.
ResponderEliminarThank you so much!! :D I have more ideas to share, so soon you'll see more ;)
EliminarGreat idea, Yolanda! I might as well try this at home. Thank you!
ResponderEliminarYou're welcome! It's great that you like my ideas. Soon much more!
EliminarYou're so creative! This frame is so cute. Thanks for sharing.
ResponderEliminar